Backpacking Western Europe: An Overview
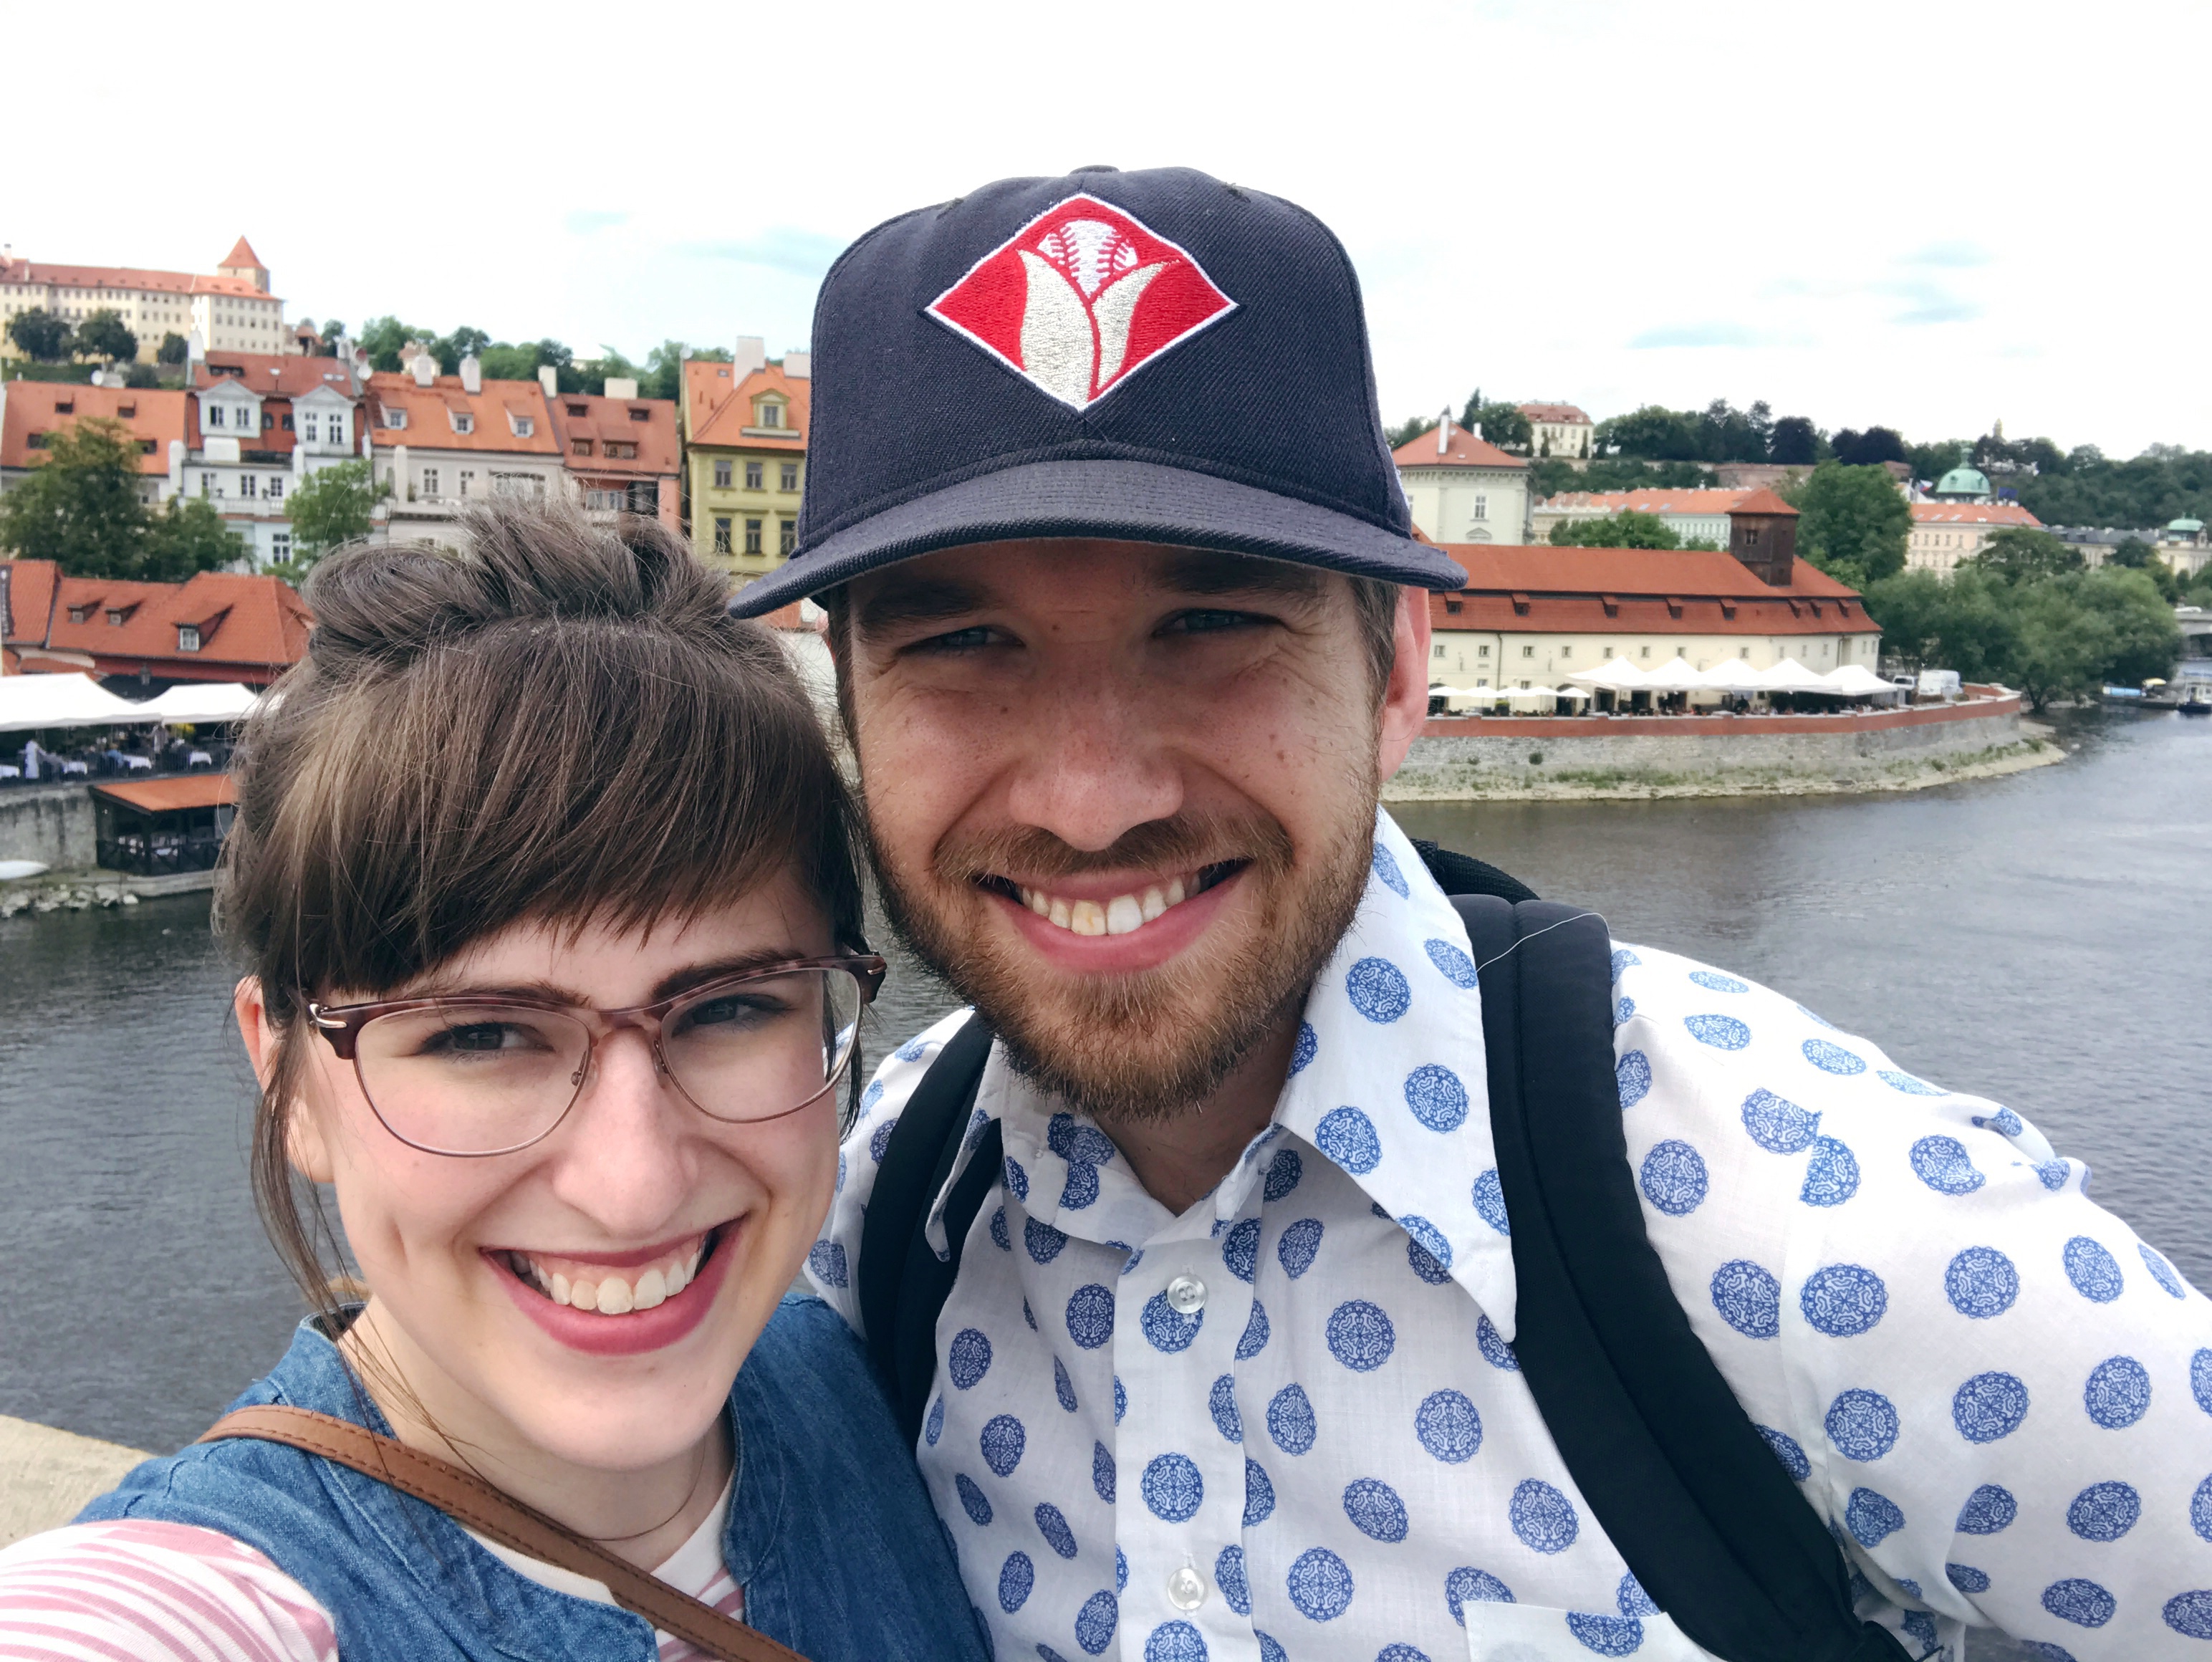
Welcome to the Backpacking Western Europe Series! This year, in June, Curtis and I went on a three week backpacking trip of Western Europe. We saw twelve cities in six countries. It was something we were dreaming of, and planning for, for many, many years.
The trip is something I get asked about a lot, so I thought I would answer some of the most commonly asked questions and give my top tips for planning a trip like this. This first post will include itinerary, budget, packing, riding the train, lodging, and some of the most common questions I’m asked.

The following posts will be city guides of every city we visited:
- Stockholm, Sweden
- Copenhagen, Denmark
- Hamburg, Germany
- Berlin, Germany
- Prague, Czech Republic
- Pilsen and Brno, Czech Republic
- Bratislava, Slovakia
- Vienna and Salzburg, Austria
- Munich, Germany
- Dresden, Germany
Let’s get started!
Planning Your Itinerary for Backpacking Western Europe:
First of all, you need to figure out when and how long the trip will be. We took three weeks, but we commonly encountered travelers who were travelling for two months, and there are certainly backpackers who travel for longer than that. If you’re going to do a multi-country backpacking tour, I would recommend going for at least three weeks.
For us, three weeks was long enough that we got to see A LOT of places, but not so long that we felt fatigued. We kept up a really fast pace of travel, and I think if we had stayed longer, we would have slowed down our pace, rather than try to see more cities.

When you figure out how long you have, you need to determine how many places you want to see. We started with a wish-list that was much too long, and then reigned it in by looking at the Eurorail train routes. We stayed within western Europe, and most of our train rides were between 2-6 hours long. This meant we weren’t riding on trains overnight, or spending full days travelling. There are many people who travel this way, and get to see further flung countries but they are often on much longer trips than we were. One day, we want to see eastern Europe, the Benelux region, and so much more, but those will need to be separate trips so we can actually spend time in the cities rather than just travelling.
It also helped to look at the different Eurorail passes offered. We planned to bookend our trip in Stockholm, Sweden, so we didn’t actually need a “live” Eurorail pass for the whole three weeks we were in Europe, just from the day we left Stockholm, to the day we returned. We saved about $250 by concentrating our train travel within 15 days, rather than 21, for example.
This is a crucial tip! Get the free app Maps.me which allows you to download and save maps of any city that you can use offline. We downloaded maps for all our locations and as we found restaurants or sights we wanted to visit we “pinned” them in the map so we could easily find them while overseas, even without wifi directions. This app was a lifesaver. We pinned the central train station, our lodging, and everything else in between. It has also been so helpful as I’m writing this post because I have a record of everywhere we went, so I’ll never forget those special places.
Figure out a budget
Budget may also help determine how many places you’re able to go, or how long you’re able to travel. For a roughly month-long trip to western Europe in the summer, you’re going to need around $3,000/person, all things considered. There’s a lot of ways you can spend much more than that, or much less, but let’s be safe and say that’s what you need to have available to do this trip. Flights take up a large chunk.
The daily cost of travelling Western Europe is fairly low. But, caution, it varies widely depending on where you are. The most expensive places we visited were: Sweden, Austria, and Denmark. The least expensive places were: Germany, Czech Republic, and Slovakia. You’ll even see a lot of variance within the countries, for example, we found Berlin to be surprisingly affordable compared to western Germany, like Munich.

When building your budget, your major travel expenses will include:
- Flights
- Eurorail pass *optional
- Travel Insurance *optional
- Lodging – hotels, hostels, Airbnb
- Daily expenses – food, drinks, activities etc.
If you have any flexibility at all over when you go, use Google Flights to pick the cheapest time to fly. You can enter all your travel information and view a “price graph” that helps you figure out the optimal time of year, even day of the week to travel.
Depending on where you’re travelling you may or may not choose to use a Eurorail pass. A Eurorail pass allows you the convenience to get on and off any train with ease, without needing to purchase a ticket for each ride. In certain countries where the train is frequently used, you may choose to purchase a “seat reservation” because Eurorail does not guarantee you a certain seat, just a spot on the train. You will likely only need a seat reservation a few times, and they’re about $3-7/per rider, so it’s not a lot of additional money.

If you’re under 27 years-old (which we were) you qualify for a Youth Eurorail pass, which means you can choose between a 1st and 2nd class pass, and will get a cost saving. Whichever class you choose is where you’ll sit for every train ride.
If you’re travelling in six different countries, heads up, you will see a huge difference in the quality and amenities of different train legs. We rode 2nd class, and some of the trains were spacious and comfortable, others were crowded and noisy, which is the usual reputation of the 2nd class cars. On the other hand, 2nd class is the more social car, and we met other backpackers on almost every leg of our trip so we were happy with our choice.
I’ll talk more about how to use Eurorail later on in the post, but one budget thing to note is that your Eurorail pass will be mailed to you, so you need to purchase it early enough that you have time for it to be sent! It doesn’t activate until you first stamp it overseas, so don’t wait until you’re down to the wire like we did!

Another optional expense is travel insurance. We purchased our travel insurance through World Nomads, and the policy was through Nationwide Mutual Insurance Company. We waffled back and forth on whether to purchase this, but when we saw the plans were only about $150-200 and they insure trip cancellation, lost or damaged baggage, and –most importantly –medical expenses and medical emergencies, we decided to go for it. Thankfully, we didn’t need to use it, but given the choice I’d probably still purchase it again.
The other big financial thing to figure out is how you’re going to pay for things when you’re in Europe. Since we were backpacking several countries, and only about half of them were on the Euro, it would have been massively complicated to take out a chunk of cash, which is what some travelers do so they don’t have to deal with the money question while travelling.
We actually found it quite advantageous to open a Capital One Quicksilver card, which has no foreign transaction fees. The card was offering a $150 cash-back after the first $500 of purchases, so we opened the card and then bought all of our major travel expenses (flight, Eurorail, travel insurance) with the card, immediately unlocking the cash-back bonus.
This is a referral link if you’d like to open this same credit card. It costs you nothing, and the referral bonus helps support this blog!
We still use the card now that we’re back in the U.S. and we get 1.5% cash-back for every purchase, plus 50% off our Spotify Premium subscription!
** The important caveat I give for opening any credit card is you must be able to pay off the credit card, in full, each month. Set up the card so it’s automatically paid off through your checking account, and if you can’t make that work, then you shouldn’t be making the expenses you’re making on the card. Credit card debt is a scary snowball, so don’t get swept up in it!
Packing for Backpacking Western Europe
My biggest caution to you — DO NOT OVER-PACK. Pack your bags multiple times before you go and cut back what you’re stuffing in there every time. Make sure you walk around with your bag on your back to get used to the weight, how it sits, and how the weight is distributed throughout it. We were travelling in urban areas, so we didn’t need any elaborate backpacking gear or camping equipment. Focus on the environment that you’re going to be in when travelling and don’t get convinced to bring even things like flashlights and/or extensive first aid kits. In most cases you’re going to be touring big cities and riding on public transit. Just take what you need and figure the rest out when you get there.
We purchased very common backpacking packs, the Osprey Farpoint- 40L, and we got them online from REI. These packs have zippers that run all the way around them, and you pack them like a suitcase (flat) rather than like a backpack (top-loading). The packs are lightweight and adjustable, making them comfortable for any body-size (I am 5’3” and my husband is 6’4”) to wear. They will fit in most airplanes as a carry-on, but we had a free checked-bag with our flights so we checked ours on this particular trip.

What I packed:
- Two shirts — one lightweight, flow-y blouse and one black turtleneck. Both matched all my bottoms and could be layered with other things.
- One lightweight neutral sweater — this saved me in Stockholm and Copenhagen, and rolled up small enough to fit inside a pair of shoes. I layered on top of things.
- 1 cardigan – I probably wore this almost every day at some point.
- 3 dresses — I love wearing dresses and prefer to pack dresses because then you only need one piece rather than a top and bottom. But depending on your style, you may choose to pack more shirts and pants.
- 2 t-shirts — I took two light-weight cotton tshirts for layering under things and wearing with shorts on the hottest days. Everyone cautions against cotton for backpackers because it doesn’t dry very quickly, but I didn’t have problems. We only did laundry one time on our trip (in an Airbnb) and I had the convenience of being able to dry my clothes for a long time before repacking them.
- Dark jeans — easy. Goes with everything. You do not need more than one pair of jeans for a month-long trip.
- 1 maxi-skirt — I wore a stretchy maxi skirt on the plane rides, and then I used it for changing in hotels. I could pull it up over my chest like a towel and be covered while changing my bottoms. Then I could slip on a shirt over it, and step out of it when completely changed. It’s tough to explain, but it worked brilliantly! Even though I didn’t really wear the skirt otherwise, and it was kind of a heavy-weight synthetic material (for the stretch-factor) it was worth it for the changing trick!
- 1 pair of shorts – It got up to upper-90s Fahrenheit, so I was glad to have a pair of jean shorts.
- 1 sporty shorts + sleeping tshirt — I slept in this every day for three weeks.
- Undergarments — Even though we only did laundry once, we still could sink-wash undergarments very easily.
- Shoes — this was my biggest struggle. I ended up bringing Chacos sandals and some Clarks leather slides. They were such comfortable shoes and worked great for me, but I’m a huge sandal person and we were touring only cities. These shoe choices might not have worked for every environment. My husband wore Chacos sandals or Redwing boots.
- Rain jacket — Another REI purchase. I love our rain jackets, and they were so useful for cold, rainy, and windy weather They roll up tiny and they tuck into their own hood so you can fit them in your backpack easily.
- A scarf. Again, I wore my gray and black scarf most days– sometimes to keep me warm, sometimes as a shawl in a restaurant. Sometimes balled up as a pillow on the train.
- A very small purse — you really don’t need a big heavy purse for touring, so take a small, lightweight purse and leave the rest of your gear back at home base.

We packed in packing cubes (also from REI) and they kept our backpacks organized. We both brought quick-drying, Microfiber towels, a Hydroflask water bottle, notebooks, and a Kindle (borrowed from friends/family).
For technology, we brought an adapter (plugs are different in Europe and require an adapter), a multi-port charging station, our iPhones (we didn’t do anything special to prepare our phones for the trip, just used them as our camera and utilized the abundant free wifi when we were over there), and headphones.
We each had a hanging toiletries bag, and mine included:
- Shampoo + conditioner, decanted into small travel squeeze tubes
- Tootbrush and toothpaste
- Razor
- Deodorant
- Chapstick with sunscreen
- A light CC cream
- Mascara
- Eyebrow pencil
- Lipstick
- Travel size perfume
- Moisterizor
- Sun screen
- Lemon essential oil, which I sprayed whenever things smelled like they could be “more fresh.”
I had a little baggie with some medical supplies:
- Hand sanitzer
- Prescriptions
- Tylenol
- Pepto
- Band aids
And we brought Curtis’s Swiss Army knife and a wine corkscrew for drinking wine and eating cheese on the train!

Riding the Eurorail
We loved riding the Eurorail! I want to provide a detailed guide to this part of the trip because if you haven’t ever ridden a train (like many Americans) it can seem a little confusing at first.
First, we bought a Eurorail pass, like I mentioned. This means we could go on and off any train we wanted. You just have to write where you’re headed in your pass. Then, when the train conductor comes down the aisle at the beginning of the leg, they will ask to see your Eurorail pass and passport (sometimes) and they’ll stamp it. If you don’t purchase a Eurorail pass, you will need to buy a train ticket at the station for each train you ride.
The first time you use your Eurorail pass you will activate it at the train station. We activated our Eurorail pass in Stockholm by going to the Information Desk and getting the appropriate stamp. We asked the person at the desk for a schedule to show us how to get to Copenhagen (our first stop) but for every other leg of the trip we just looked at the kiosk when we arrived in that train station to figure out what time the departing train would be when we left that city for our next.
Once we got our correct train information for Stockholm to Copenhagen, we just had to find that platform and board the train when it arrived. That was our longest train ride (about 6 hours) and it included a transfer in Malmö, Sweden. For the rest of our trip we never had to make another transfer and our train rides were about 2 hours on average.
We got into a pattern of checking out of our lodging at around 10:00, buying lunch supplies at the grocery store in the train station, catching an 11:00 train (eating lunch on the train) and arriving around 1:00. We could usually check-in to our new accommodations at 2:00 or 3:00 so this timing worked out well for us.
Like I mentioned, your Eurorail pass (and even an one-time train ticket) guarantees you a spot on the train, but does not reserve you a seat. Most of the time this isn’t an issue — small name cards on the overhead (underneath the luggage compartment) mark a reserved seat. If you’re just boarding the train look for available seats without name cards, in your appropriate class (1st or 2nd). We were travelling in June, which is a busy month for western Europe, and we only found we had to reserve tickets within Germany. Otherwise we were usually able to find seats together without the reservation.

If you do need to make a reservation, you have to do it at the ticket counter in the train station. It doesn’t cost much (about $3-$7 a seat) but it is a pain because you usually have to wait in line. When we needed reservations, we would take care of this first thing when we arrived in the city, so we knew exactly when we needed to be at the station to leave that city at the end of that leg.
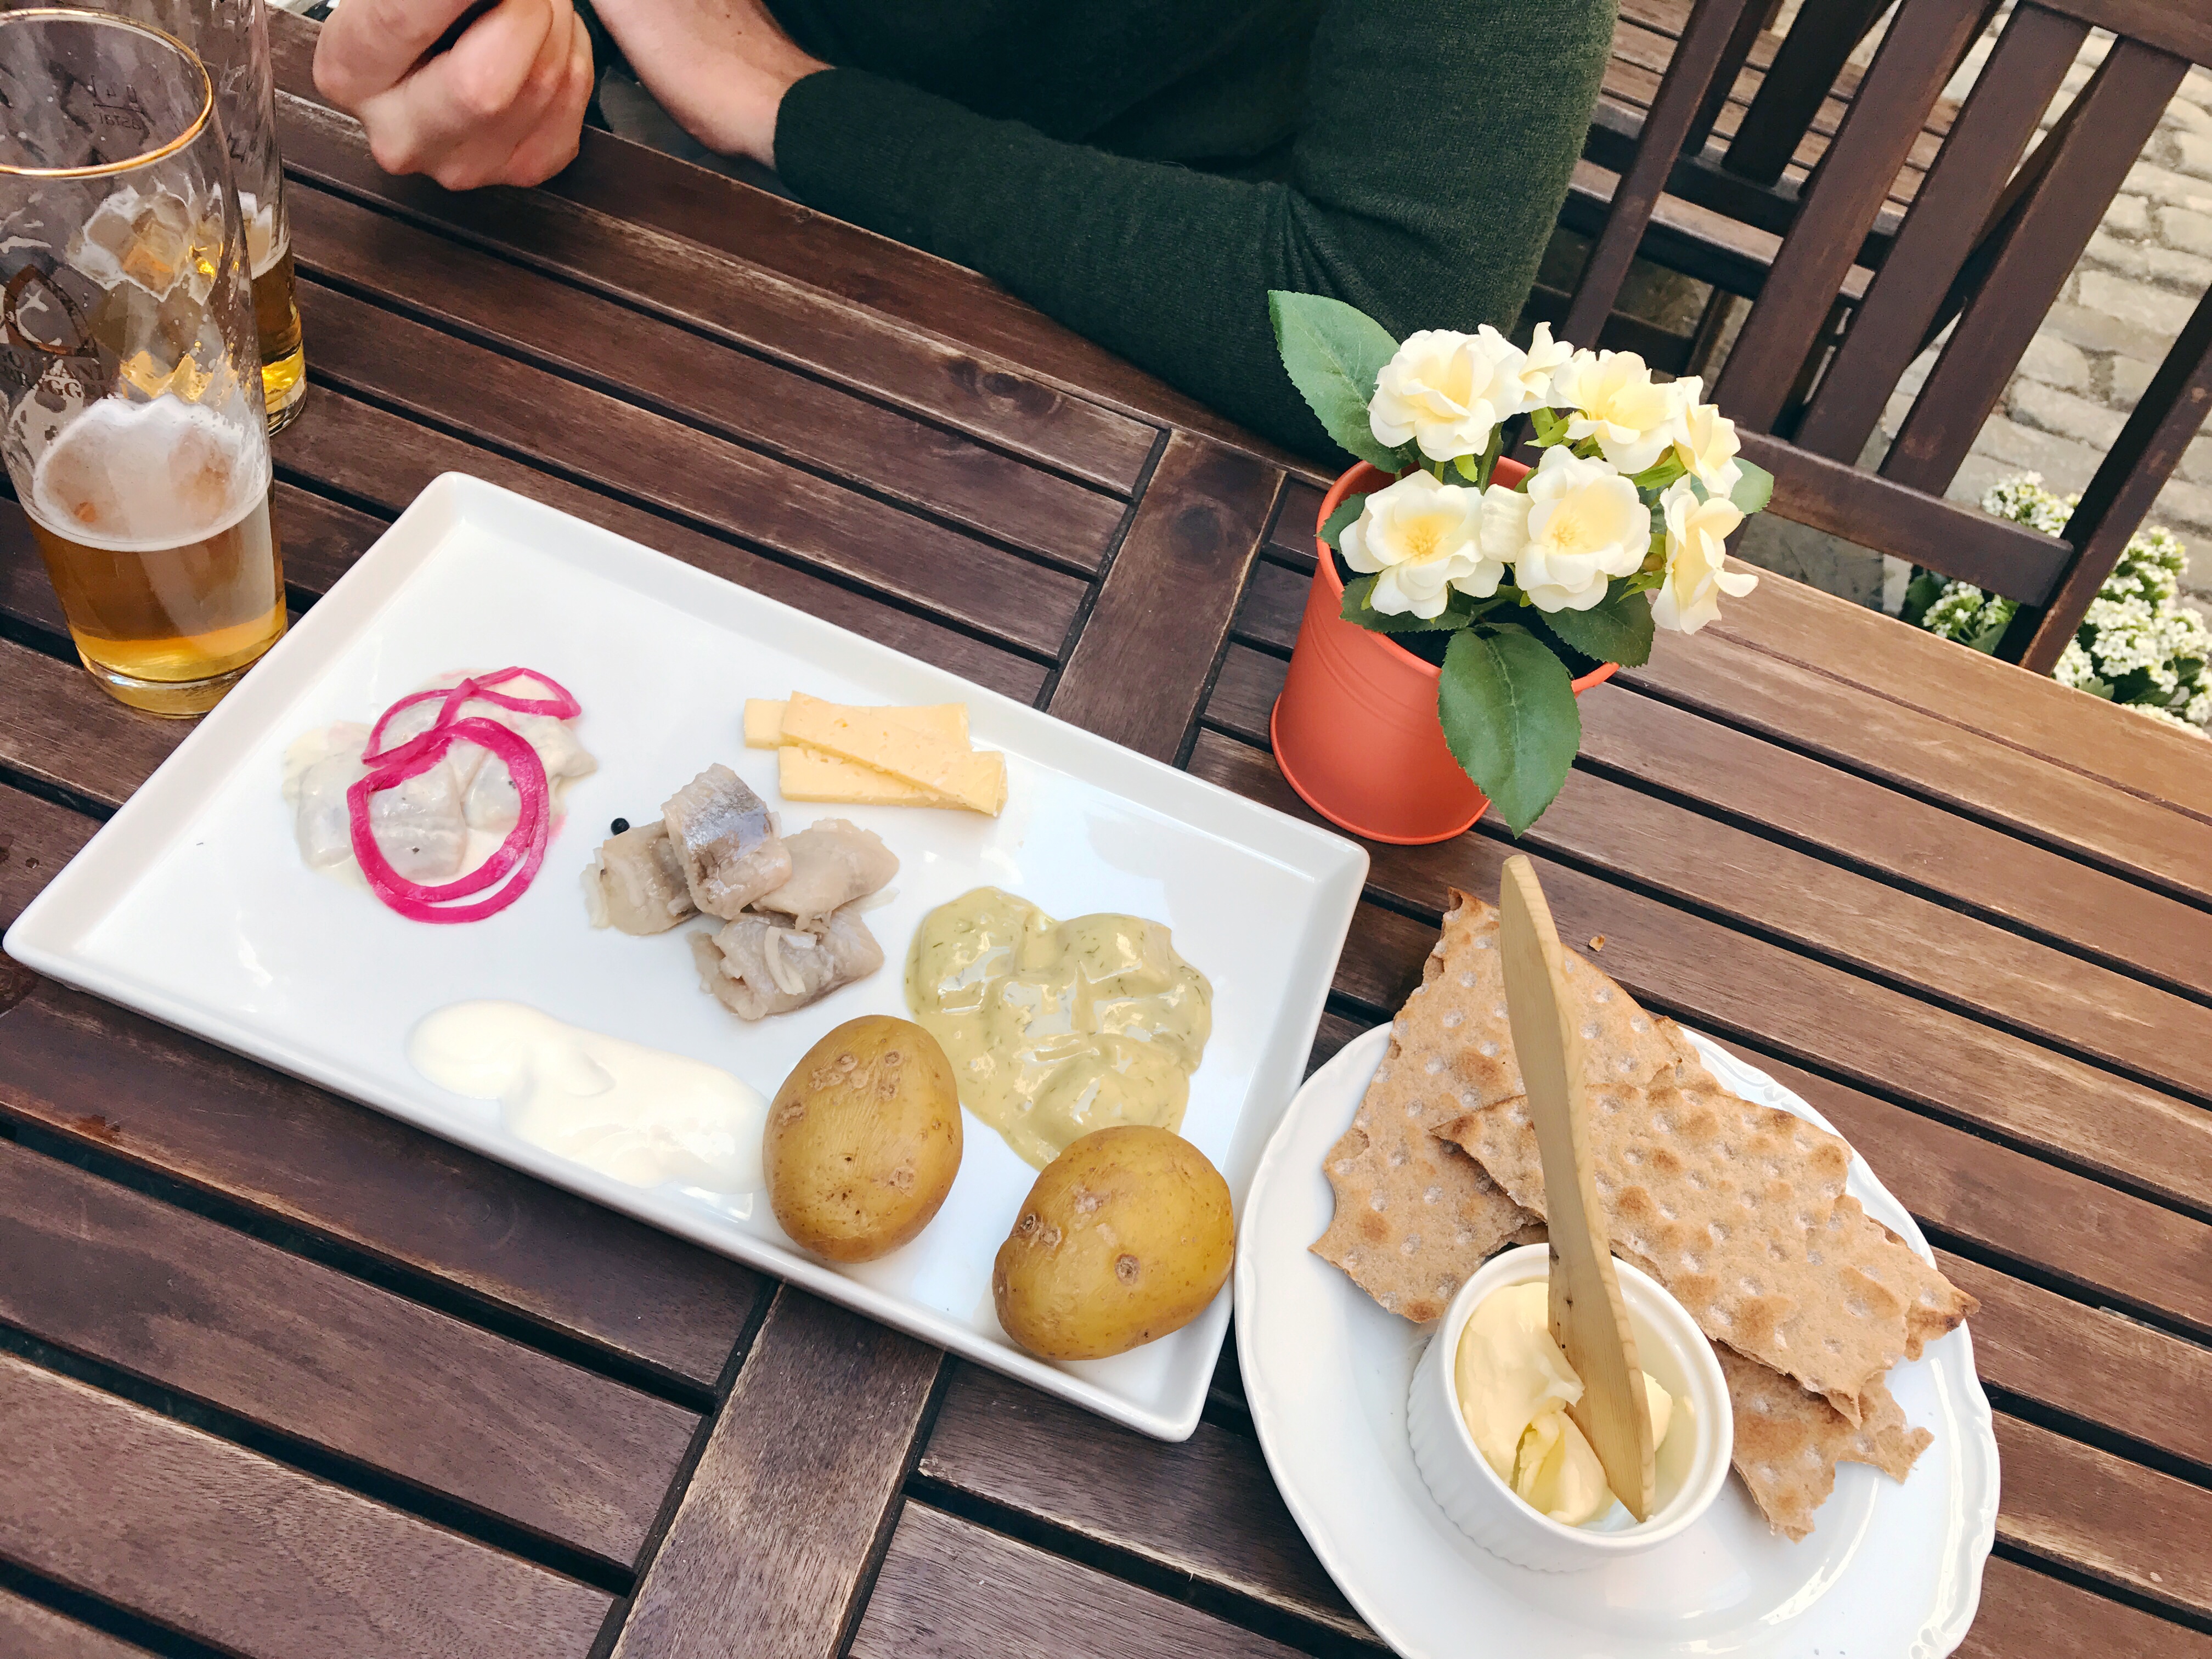
We had good train experiences, even though each and every ride was different. Some train rides we met other backpackers and talked with them the whole way. Other trains were very crowded, at least one was so crowded we couldn’t sit by each other. Usually we ate lunch on the train of foods we packed in advance — breads, meats, cheeses, fruits, wine or beer. Most trains have tray-tables you can pull down, but some have permanent standing tables, like a booth.
Once we had to run to catch a train we almost missed. Another time we accidentally sat in 1st class and they made us move. Once the air conditioning broke and (after sweating our butts off) they moved us all to a different train. But usually we just used the time on the train to eat, nap, journal and read. We loved train travel and would definitely do it again!
Lodging
I will detail where we stayed in each of my City Guides, but in general we used three sources to book our lodging: Hotels.com, AirBnb, and Hostelworld. We booked about one city ahead of time, so we were never very locked into our plans if we wanted to change our route. Booking on short notice like this has its advantages, we often secured price reductions. The downside is sometimes places get booked quickly, so the approach depends on how flexible you can be.
- Hotels.com – We used this for securing last minute, price-declined hotels. This was our most used booking service, which really surprised us! We were often able to find affordable, centrally-located hotel accommodations. Hotels are much cheaper in Europe than they are in the United States.
- AirBnb — We booked AirBnbs in Prague, Bratislava, and Berlin. All of them were comfortable and beautiful — lots of the large cities in Europe have AirBnbs that are rented regularly. The AirBnbs tended to be among the priciest of our stays, but not significantly more. We enjoyed having a way to make coffee and do laundry. The biggest struggle with AirBnb is the check-in. Unlike a hotel or hostel, there is no receptionist at an AirBnb and if you don’t have an international data plan, you have no way to contact your host unless you’re in wifi, so you have to rely on the meet-up plan going smoothly. We had a few bumps in the road with AirBnb check-in, and most backpackers told us the same thing.
- Hostelworld – Hostels are usually the cheapest accommodations you can find, but because we had two people travelling together we didn’t find that the hostels were drastically cheaper than other lodging. That’s because when you book a bed in a hostel, you pay for each person (each person gets their own bed), so sometimes two hostel beds ends up costing the same, or even more, than one hotel room with one bed. Hostels have options to book co-ed rooms and female-only rooms. Some hostels have bathrooms in the room, and some have bathrooms down the hall. Very few hostels have options for private rooms, and those that do are usually just like efficiency hotels. Thought people of any age can book hostels, at 25 and 26, we felt we were slightly older than most (college students, or people who had just graduated). It was very uncommon to find other married couples in hostels — most hostel travelers were single people, or pairs of friends. Most hostels have anywhere from 4-12 beds per room and can be a very social experience if you want that. The good hostels have a massive, filling breakfast, coffee shop, and/or an awesome bar!

I hope you’ve enjoyed the longest and most thorough post this blog has ever seen! The individual City Guides for Stockholm, Copenhagen, Hamburg, Berlin, Prague, Pilsen and Brno, Bratislava, Vienna and Austria, Munich, and Dresden will give you all the details about where we stayed, what we did, and what we ate when we were backing western Europe.
Let me know if you have any questions & happy trip planning! -Emily